Keyframe Animation in SU Animate
Note: Before you start creating the keyframe or path animation, make sure that there are no existing scenes in your SketchUp model.
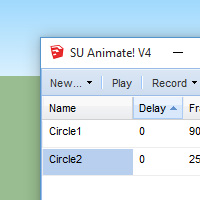
A keyframe animation the simplest way to create an camera or object animation, and is new to SU Animate 4.
It is simply a sequence of "snapshots" of your model. The position of the selected groups and component instances in the model, the camera orientation, and the visibility of all layers is captured with each snapshot. You can move and/or rotate objects, or pan, zoom and tilt the camera, and turn layers on and off between frames.
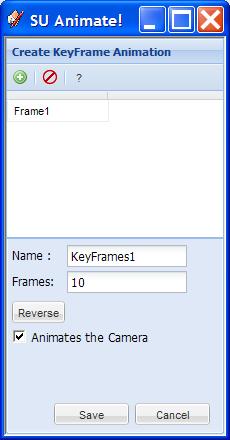
Before capturing frame information, you must select any objects (groups and component instances) that you want to animate. You can make the selection before invoking the Key Frame Animation dialog, or by using the Add/Remove Objects button on that dialog.
Click the "Capture" button to capture a frame. The frames you capture are the keyframes. If you specify more frames in the Frames input box than the number of key frames you create, then SU Animate will insert additional frames, smoothing out the motions of objects and camera.
Watch the following video for a simple introduction to keyframe animation:
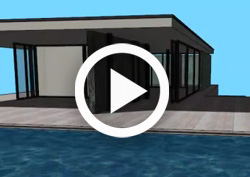
Simple Keyframe Introduction - Opening Door Animation
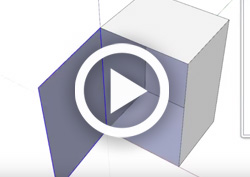
This video tutorial shows how to create a key-frame animation of a door opening and closing. Only two key frames are created, but the motion seems smooth because SU Animate interpolated additional frames.
Want to follow along? Download the SketchUp model here.
(Note: The model is in SketchUp 7 format)
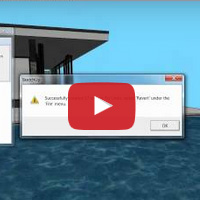
Watch: Animating the camera with keyframes in SU Animate
It is also possible to easily create camera "walk-through" animations using keyframes. Watch the video to see how to create and edit a camera fly-through of the Barcelona Pavilion. These walkthrough animations can also be exported to SUWalk and rendered with realistic light and shadows.
Learn how to export your animation to SUWalk here
Want to follow along? Download the Barcelona Pavilion model here.